Repotting Houseplants: When, How and Which Pot to Choose
Complete repotting guide: spotting the right time, choosing pot and substrate, and pulling off the operation without stressing your plant.
By SPRAIA editorial team · Method: botanical sources, field feedback and editorial validation
Repotting a plant is one of the most useful — and one of the most misunderstood — gestures of indoor gardening. Too often neglected, sometimes done too soon or too late, almost always in the wrong pot. Yet a good repotting revives a tired plant, prevents root diseases, and sets up the conditions for vigorous growth for 1 to 3 years. Here’s everything you need to know to turn this step into a calm routine, even as a beginner.
Why repot?
A potted plant lives in a limited volume. Over time, it depletes nutrients, roots fill the available space, the substrate compacts and loses its ability to drain. Three main consequences:
- Slowing growth, sometimes a complete halt
- Roots suffocating in compacted, degraded substrate
- Increased disease sensitivity (rot, pests, deficiencies)
Repotting isn’t an aesthetic whim — it’s a fundamental care act. And contrary to common belief, it isn’t always “moving up to a bigger pot”. Sometimes you repot into the same pot, simply to refresh the substrate.
When to repot: the real signs
Forget fixed calendars. A plant tells you herself when she needs new lodging.
Visual signs
- Roots emerging from drainage holes at the bottom of the pot
- Roots visible at the substrate surface
- The plant literally lifts the pot (roots form a compacted mass)
- Slowing growth for no apparent reason, despite good light and proper watering
- Substrate dries very fast after watering (because there’s more root than soil)
- Substrate no longer holds water — it runs straight through the holes without absorbing
- Compacted or mineralized substrate with white deposits on the surface
Signs at unpotting
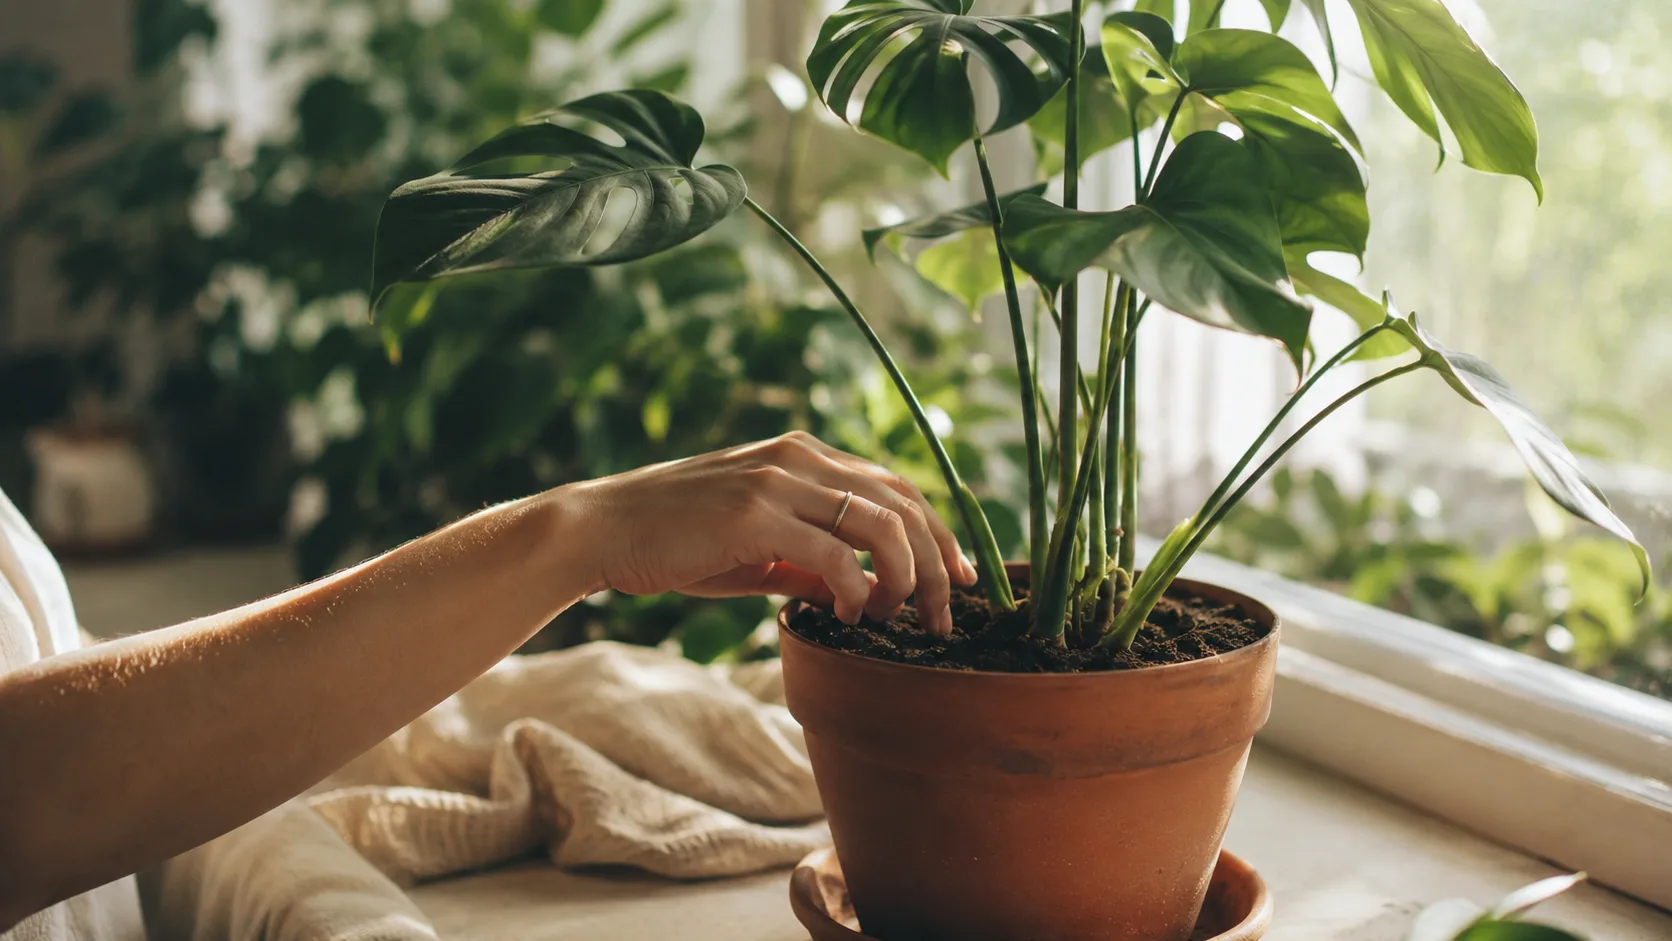
Gently slip the plant out of its pot to inspect the rootball:
- Compact cylindrical rootball, roots spiralling at the bottom and sides → repotting needed
- Blackish substrate that smells bad → emergency: risk of root rot (covered in an upcoming article)
- Lots of soil, few visible roots → the plant isn’t ready, return it to its pot
Indicative frequency
| Plant type | Frequency |
|---|---|
| Fast growers (Pothos, Philodendron, Monstera) | 1 to 2 years |
| Slow growers (Sansevieria, ZZ, Cactus) | 3 to 4 years |
| Young plants in active growth | Annually |
| Stable mature plants | Every 2–3 years |
| Bonsai and decorative pots | Substrate refresh without changing pot |
When NOT to repot
Just as important as knowing when to do it: there are moments to absolutely avoid.
- In full bloom — you risk dropping flowers or buds
- Right after purchase — give the plant 2–3 weeks to acclimatize to its new environment
- In winter rest (November to February) — recovery will be slow and risky
- When the plant is sick — except emergencies (root rot), treat the cause first
- Just before a trip — repotting is stressful, don’t leave without monitoring recovery
The best window
Early spring (March to May), when the plant resumes active growth. New roots establish quickly, light increases, temperatures are mild. Ideal window.
Summer remains possible, but avoid heatwave days. Autumn is fine only for plants in great shape. Winter should be avoided unless it’s an emergency.
Choosing the right pot
This is where half of repotting mistakes happen. The wrong pot can ruin the best care.
Size: just slightly bigger
The classic mistake: repotting into a pot twice as big. Bad idea. An oversized pot retains too much water around the roots, which suffocate and rot.
Golden rule: pick a pot 2 to 4 cm wider in diameter than the previous one. For very large plants, up to 5–7 cm more. Never more.
For depth, count 3–5 cm extra, except for shallow-rooted plants (succulents, some orchids) which prefer a shallow pot.
Material: terracotta or plastic?
Each material has its strengths. Honest summary:
| Material | Pros | Cons | Best for |
|---|---|---|---|
| Terracotta | Breathes, evaporates moisture, stable | Heavy, fragile, dries fast | Cacti, succulents, plants prone to overwatering |
| Plastic | Light, cheap, good water retention | Less aesthetic, can heat in sun | Most green plants |
| Glazed ceramic | Beautiful, durable | No drainage if no hole, retains water | Decorative cover pots |
| Wood | Natural, insulating | Rots over time | Temporary use or sparingly-watered plants |
For most indoor plants, a plastic pot with drainage holes placed inside an attractive cover pot is the most practical solution: you get the lightness and drainage of plastic, plus the aesthetics of the cover.
Drainage: non-negotiable
Every pot must have at least one drainage hole. Without drainage, water pools at the bottom, roots rot, your plant dies — it’s only a matter of time.
If you insist on a decorative pot with no hole, use it as a cover pot: your plant stays in its inner pot (with drainage) and you take it out to water. You can also drill a ceramic pot yourself with the right bit.
Choosing the right substrate
Substrate isn’t a universal “soil”. Each plant family has preferences. But a few rules apply to all.
Common principles
A good indoor substrate must be:
- Aerated — roots breathe
- Well-draining — water flows freely, no stagnation
- Capable of holding moisture — without staying soaked
- Rich in organic matter — gradual nutrition
- Stable over time — doesn’t compact within months
Recipes by plant type
Classic green plants (Pothos, Philodendron, Monstera, Ficus)
- 60 % houseplant potting mix
- 25 % perlite or pumice
- 15 % pine bark or coco coir
Cacti and succulents
- 40 % cactus mix
- 40 % perlite, pumice or pumice gravel
- 20 % coarse sand (2–5 mm grain)
Epiphytic orchids (Phalaenopsis)
- Specialty orchid mix (pine bark, charcoal, sphagnum)
- Definitely no regular potting soil — their roots would rot
Acid-loving plants (Calathea, Maranta, Ferns)
- 50 % houseplant potting mix
- 30 % ericaceous (acid) mix
- 20 % perlite
Advanced tip: if you want to perfectly control root moisture, some enthusiasts switch their collection to PON mineral substrate — a modern, clean and precise approach.
Step-by-step repotting
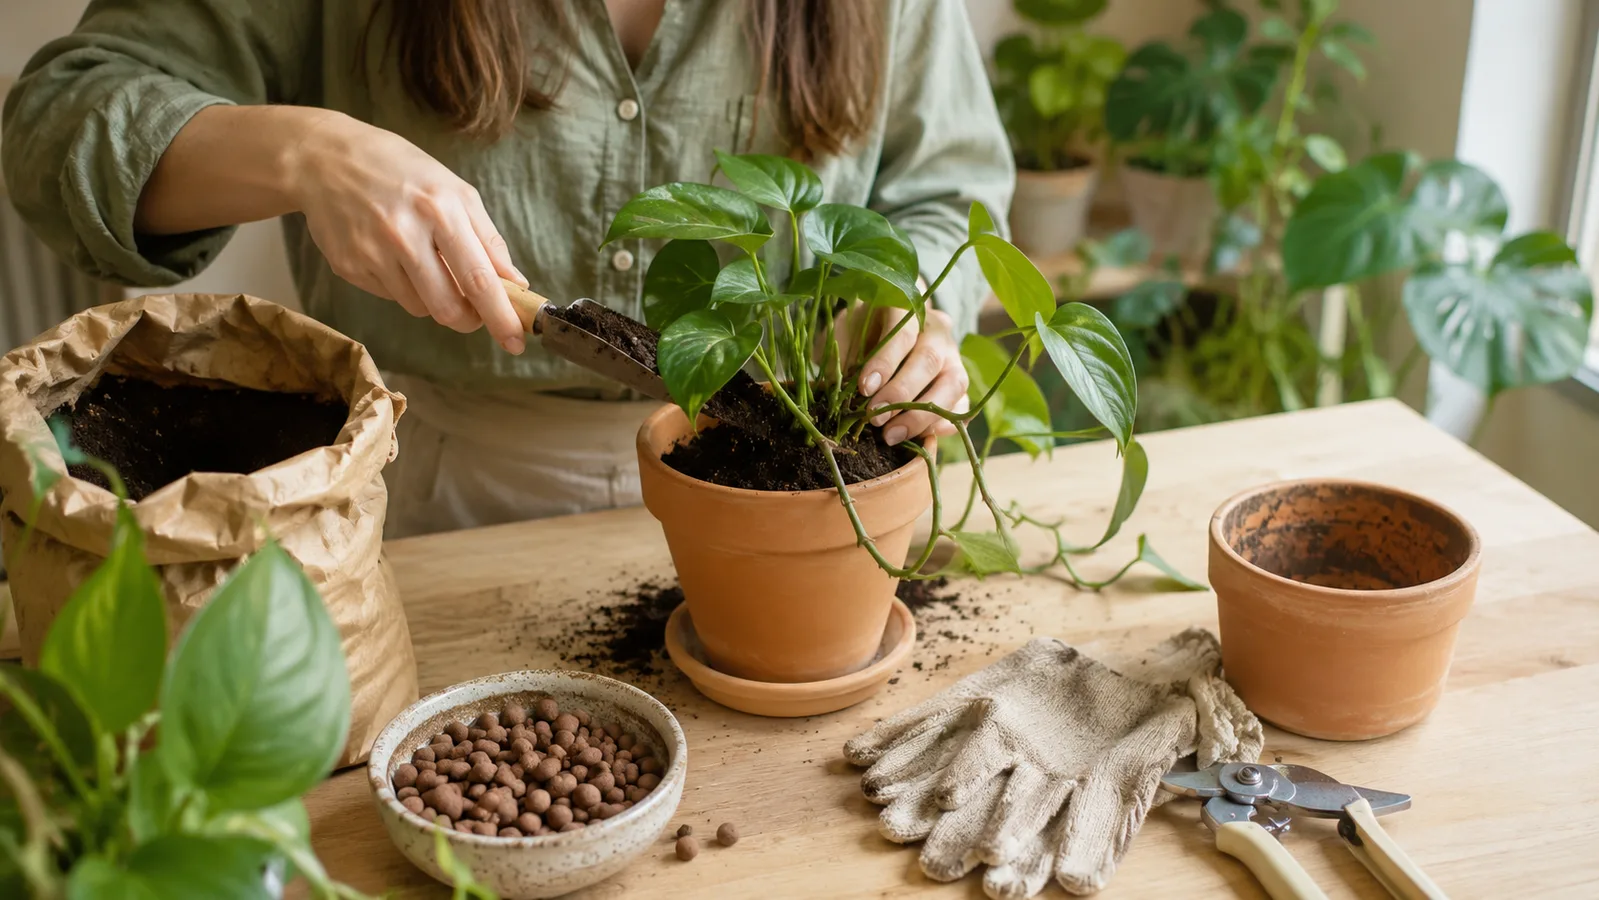
Set up your workstation: newspaper, bin bag or tarp, new pot, moistened substrate, clean shears, clay pebbles, gloves if you like.
Step 1 — Prep the plant
Water your plant 24 to 48 hours before repotting. The rootball will slip out more easily and roots will be less stressed.
Step 2 — Remove from the pot
Tilt the plant on its side, slowly invert it while supporting the base with your hand. If it resists, tap the pot rim, or even squeeze the sides if it’s plastic. Don’t pull on the stems — you’ll snap the plant.
If the rootball is severely compacted and stuck, sacrificing the pot (breaking, cutting it) is sometimes safer than damaging the roots.
Step 3 — Inspect and clean roots
This is the critical step:
- Gently tease apart the rootball with your fingers, especially spiralling roots
- Remove old substrate from the surface and around roots (not all of it: keep 30–50 % to limit stress)
- Cut dead roots (black, mushy, that crush between your fingers) with clean shears
- Cut very tangled or broken roots
- Disinfect cuts with a touch of cinnamon powder (natural antifungal)
If roots are very healthy and the rootball isn’t too dense, light teasing is enough.
Step 4 — Prep the new pot
- Lay a layer of clay pebbles or potsherds at the bottom (1–3 cm) — optional with good drainage, essential with a single hole
- Add a first layer of moistened substrate (not soaked)
- Centre the plant: its crown should sit 1–2 cm below the rim
Step 5 — Fill with substrate
- Pour substrate around the rootball, rotating the pot
- Press gently with your fingers to fill air pockets, without crushing
- Tap the pot on the table to settle the substrate
- Top up if needed
The crown (where roots meet the stem) must never be buried: it has to stay at surface level, otherwise it rots.
Step 6 — First watering
Water immediately after repotting, generously, until water runs out the drainage holes. This watering settles substrate around the roots and expels air pockets.
For an in-depth watering guide, see our complete watering guide.
After-care
The 2–3 weeks following a repot are a sensitive period. The plant pours her energy into rebuilding roots and may seem slowed.
Right moves
- Soft light: avoid direct sun for 2 weeks, even for sun-tolerant plants
- Moderate watering: wait until the substrate surface is slightly dry before the next watering
- Ambient humidity: if possible, maintain good humidity (mister, plant grouping)
- No fertilizer for 4 to 6 weeks: the new substrate already contains some, and fragile roots would burn
- No handling: leave the plant alone, no moves, no fussing
What to expect
- A few leaves may yellow or drop in 1–2 weeks: normal, the plant is adjusting
- Growth may seem halted for 3–4 weeks: invisible but roots are working
- Visible recovery between weeks 3 and 6: new shoots, glossier leaves
If after 6 weeks you see persistent yellow leaves or signs of poor recovery, check watering, light and root health.
Mistakes to avoid
- Pot too large — excess substrate retains too much water, drowned roots
- No drainage — fatal in 90 % of cases
- Packing too hard — compressed roots, blocked growth
- Burying the crown — almost guaranteed rot in weeks
- Repotting in winter without need — slow recovery, increased risk
- Fertilizer right after — burnt roots, weakened plant
- Reusing old substrate — degraded and already depleted
- Forgetting to water after — leaving air pockets around roots
Special cases
Emergency repotting (sick plant)
If you suspect root rot (smelly substrate, plant wilting despite watering), act immediately, even in winter:
- Slip the plant out, remove all old substrate
- Cut generously all black or mushy roots
- Dip healthy roots in a cinnamon solution or a touch of fungicide
- Repot in fresh, completely dry substrate
- Don’t water for 5–7 days to let cuts heal
Plants with rootballs too big to handle
For a 1.80 m Ficus or a mature Monstera you can’t slip out of the pot, opt for top-dressing: scoop out the top 3–5 cm of substrate (without touching deep roots) and replace with fresh potting mix. You give the plant fresh organic matter and aeration without full-repot stress.
Do this once a year, and a real repot every 4–5 years only.
First repot of a newly purchased plant
Many plants in garden centres come in shipping substrate (often pure peat) that isn’t suitable long-term. But don’t repot immediately: let the plant acclimatize for 2–3 weeks at home, then repot if needed.
Frequently asked questions about repotting
Everything you wonder when the time comes to repot — pot, substrate, and aftercare.
- Spring, ideally between March and May, when the plant resumes active growth. Avoid repotting in autumn and winter: a dormant plant won't recover and will stay fragile for months. Exception: an emergency repot for root rot or a broken pot must happen immediately, regardless of season.
- A pot 1 to 3 cm wider than the previous one — never more. A too-large pot retains too much water around the roots, encouraging rot. For a plant that doesn't need more space but whose substrate is depleted, you can also repot in the same pot by simply refreshing the soil.
- Lightly both. Water moderately 24-48 h before to ease unpotting (the root ball comes out cleaner when slightly damp). After repotting, wait 2-3 days then water well to settle the substrate around the roots and clear air pockets. No fertilizer for 6-8 weeks.
- Three reliable signs: roots coming out of drainage holes or circling at the pot bottom, water rushing through too quickly when watering (substrate saturated with roots), or growth stalled despite good conditions. If none of these show, your plant is happy in its pot and shouldn't be disturbed.
- It's normal — "transplant shock" can last 2 to 4 weeks. The plant devotes its energy to rebuilding roots. Keep moderate humidity, avoid direct sun, hold off on fertilizer and be patient. If the drop worsens or persists past a month, check the roots: too compressed, damaged during repotting, or rot already present beforehand.
Conclusion
Repotting is neither mysterious nor risky once you know the basics: pick the right moment (spring), the right pot (slightly bigger, well-draining), the right substrate (matched to the plant type), and follow a simple procedure. Do it calmly, don’t bury the crown, water properly afterwards, and wait 2–3 weeks before resuming usual care.
With SPRAIA, identify your plant variety precisely and get repotting recommendations matched to each species: frequency, substrate type, ideal pot size, optimal window. No more guesswork, no more bad calls — just the right moves at the right time, for plants that thrive long-term.